6th Grade T-Shirts
For our first project we took a closer look at the screen-printing phenomenon that has been a key part in modern fashion. We learned about the rise of the ‘T-shirt’, expressive lettering/typography, and evaluated what makes a “good” design and what makes a “bad” design. Each student created a design that would be voted upon by the entire 6th grade as the main image of the t-shirt they would use for tournaments, field trips, and graduations this year. Myself, and the 6th grade teachers narrowed it down to 6 choices for the front of the t-shirt, and below was the design that won the most votes as determined by the 6th grade. There were some really great designs that had awesome t-shirt potential! (We chose the back design from the student entries without any votes).
Our Learning Target:
I can create a “good” t-shirt design based on my understanding of the requirements, “expressive lettering”, and what makes a good design on a printed t-shirt.


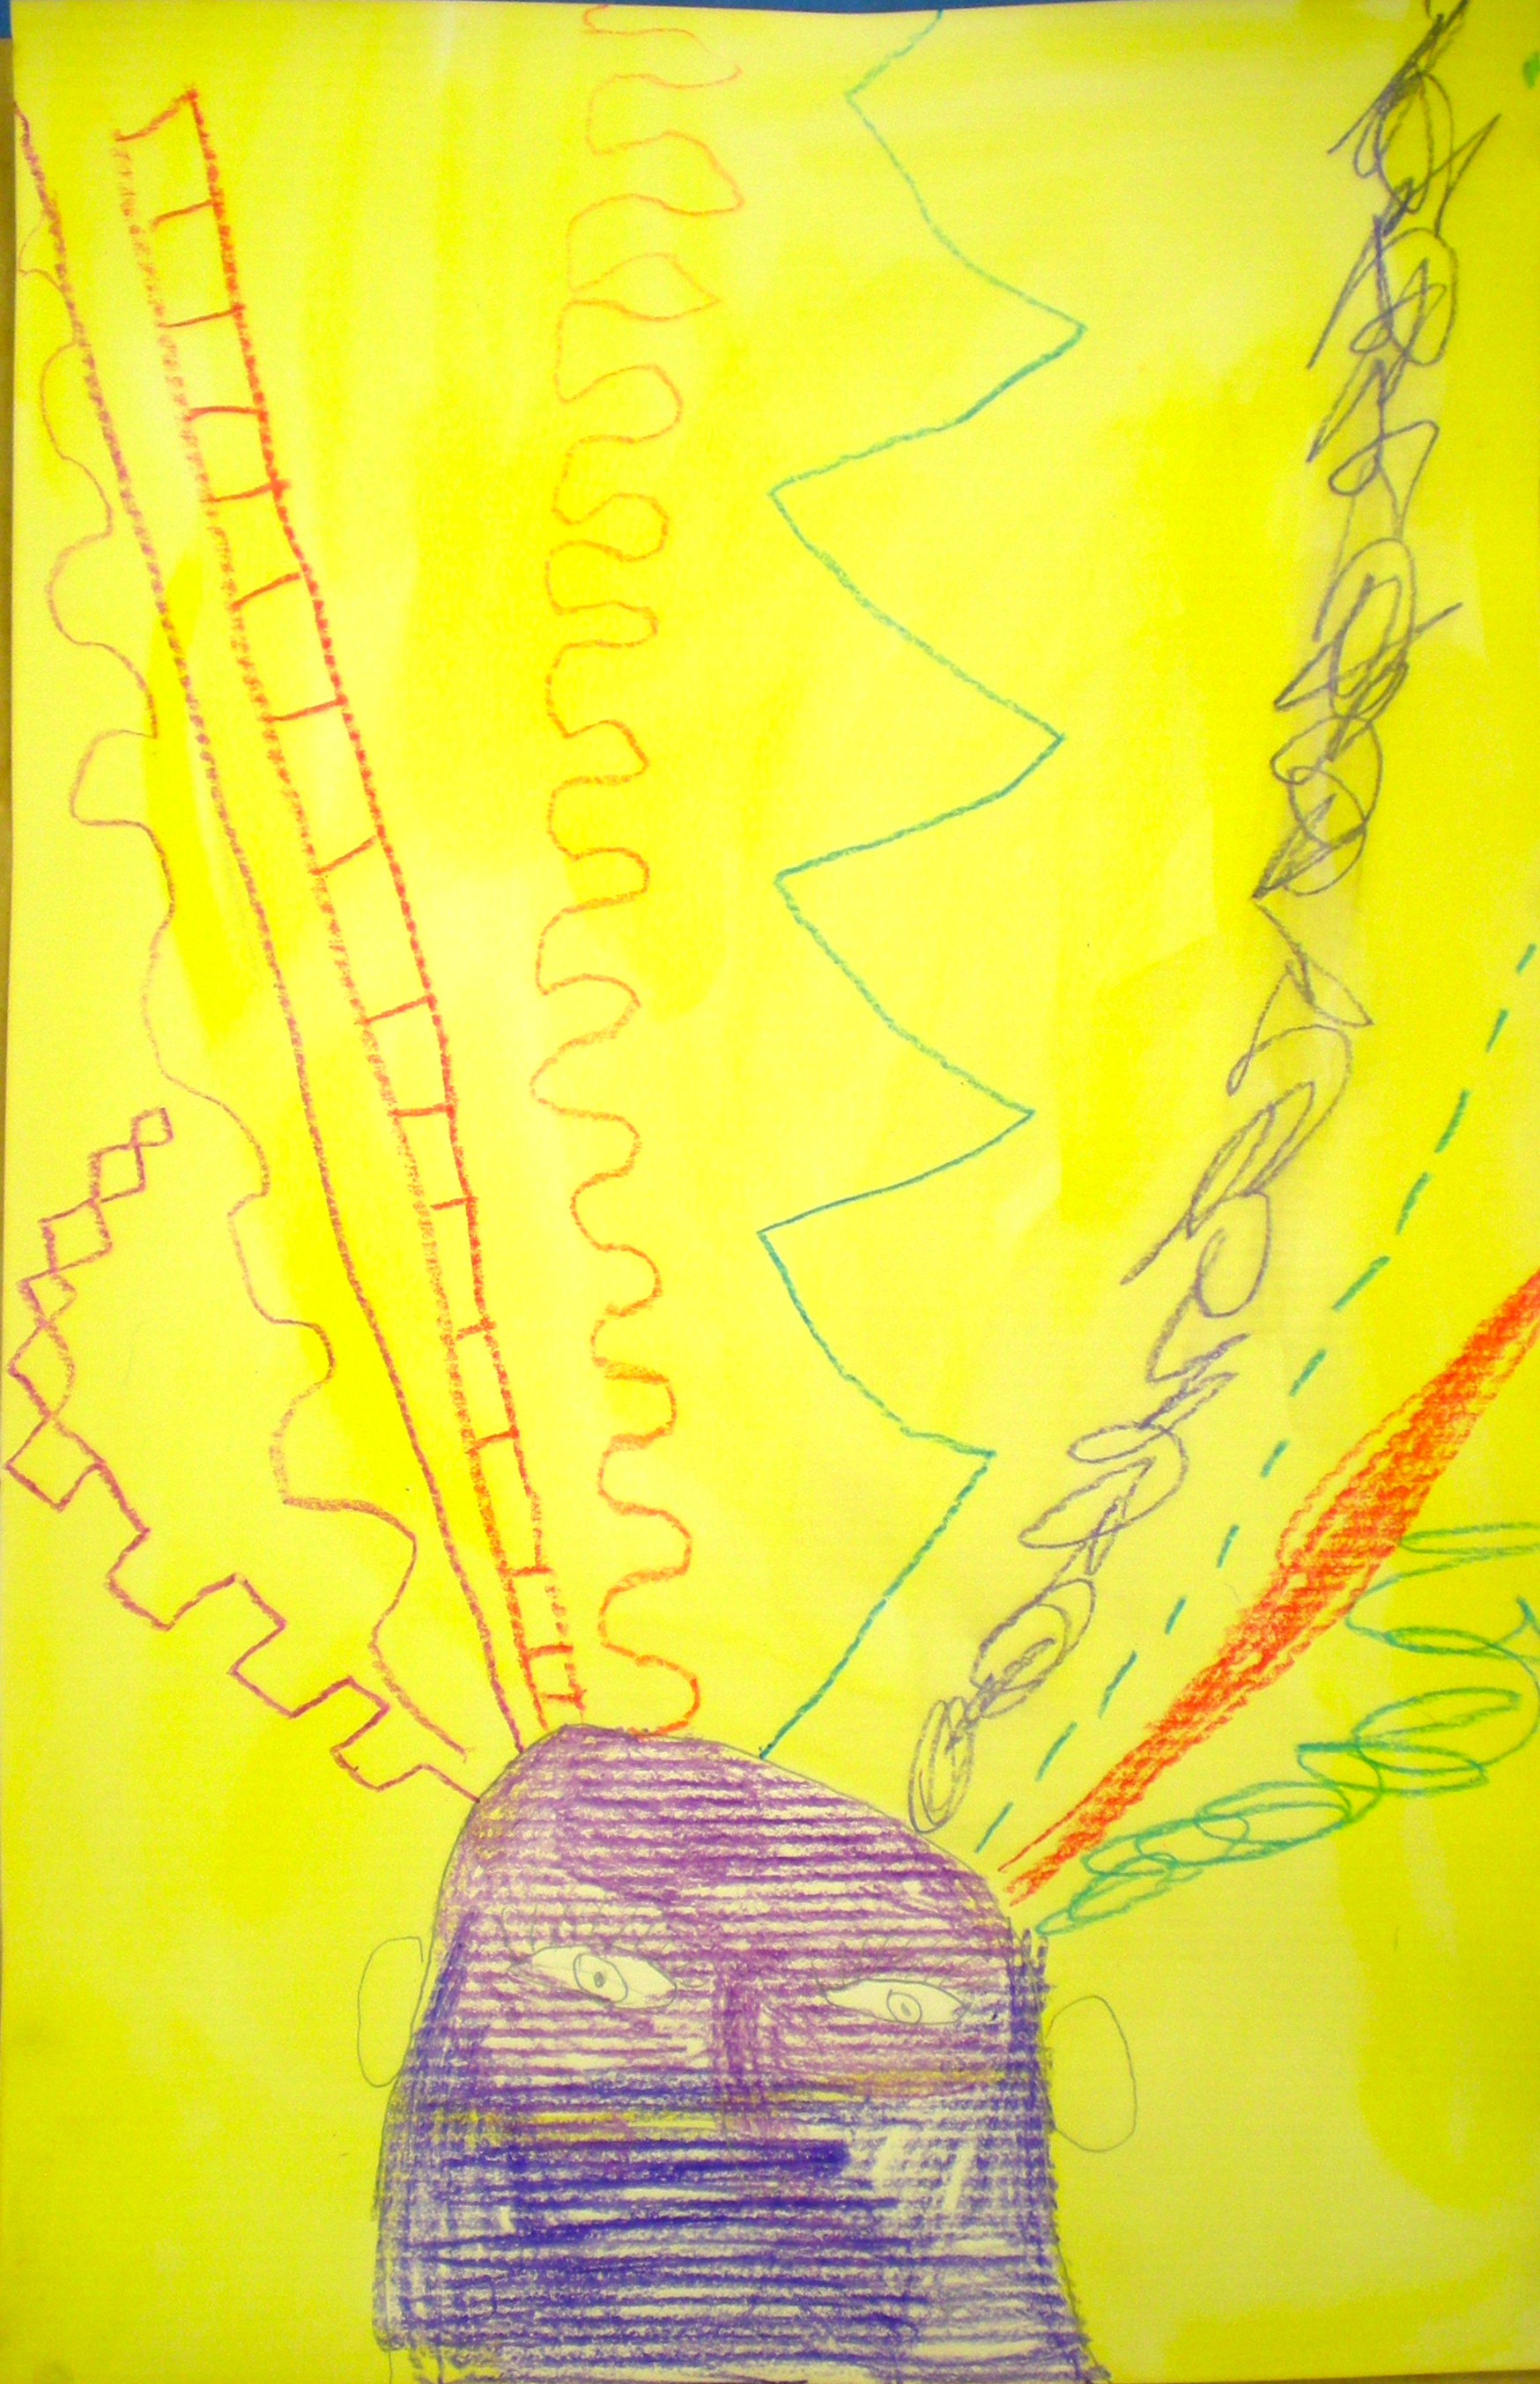
Joint Project: Fantasy Space Art and Artist Trading Cards (ATC’s)
These two projects were created simultaneously because the Fantasy Space Art required time-sensitive steps (drying time). Both the construction of the Artist Trading Cards and Fantasy Space Art landscapes required each artist to build the image up in layers, and have the spatial understanding of which items would be in the foreground, the middle ground, and the background. To see more information about the fantasy space art landscapes visit here.
Artist trading cards are unique pieces of artwork that are created and traded – just like baseball cards. Within the creation process of their artist trading cards, I required that each student use Zentangle as one of their layers. Zentangle is a doodling phenomenon that reminds me of doodles you may do during class or at a meeting – while you’re still listening of course! There are tons of YouTube videos about how to Zentangle, a Zentangle blog, AND how-to drawing books. These doodlings are very calming (hence the zen :)), and when layered with other materials, creates really cool pieces of artwork.
Our Learning Targets:
I can apply Zentangle techniques to create my artist trading cards.
I can demonstrate my understanding of layering and collage in my space art and artist trading cards.
(Our creation tables… :), some ATC’s and Fantasy Space Art)


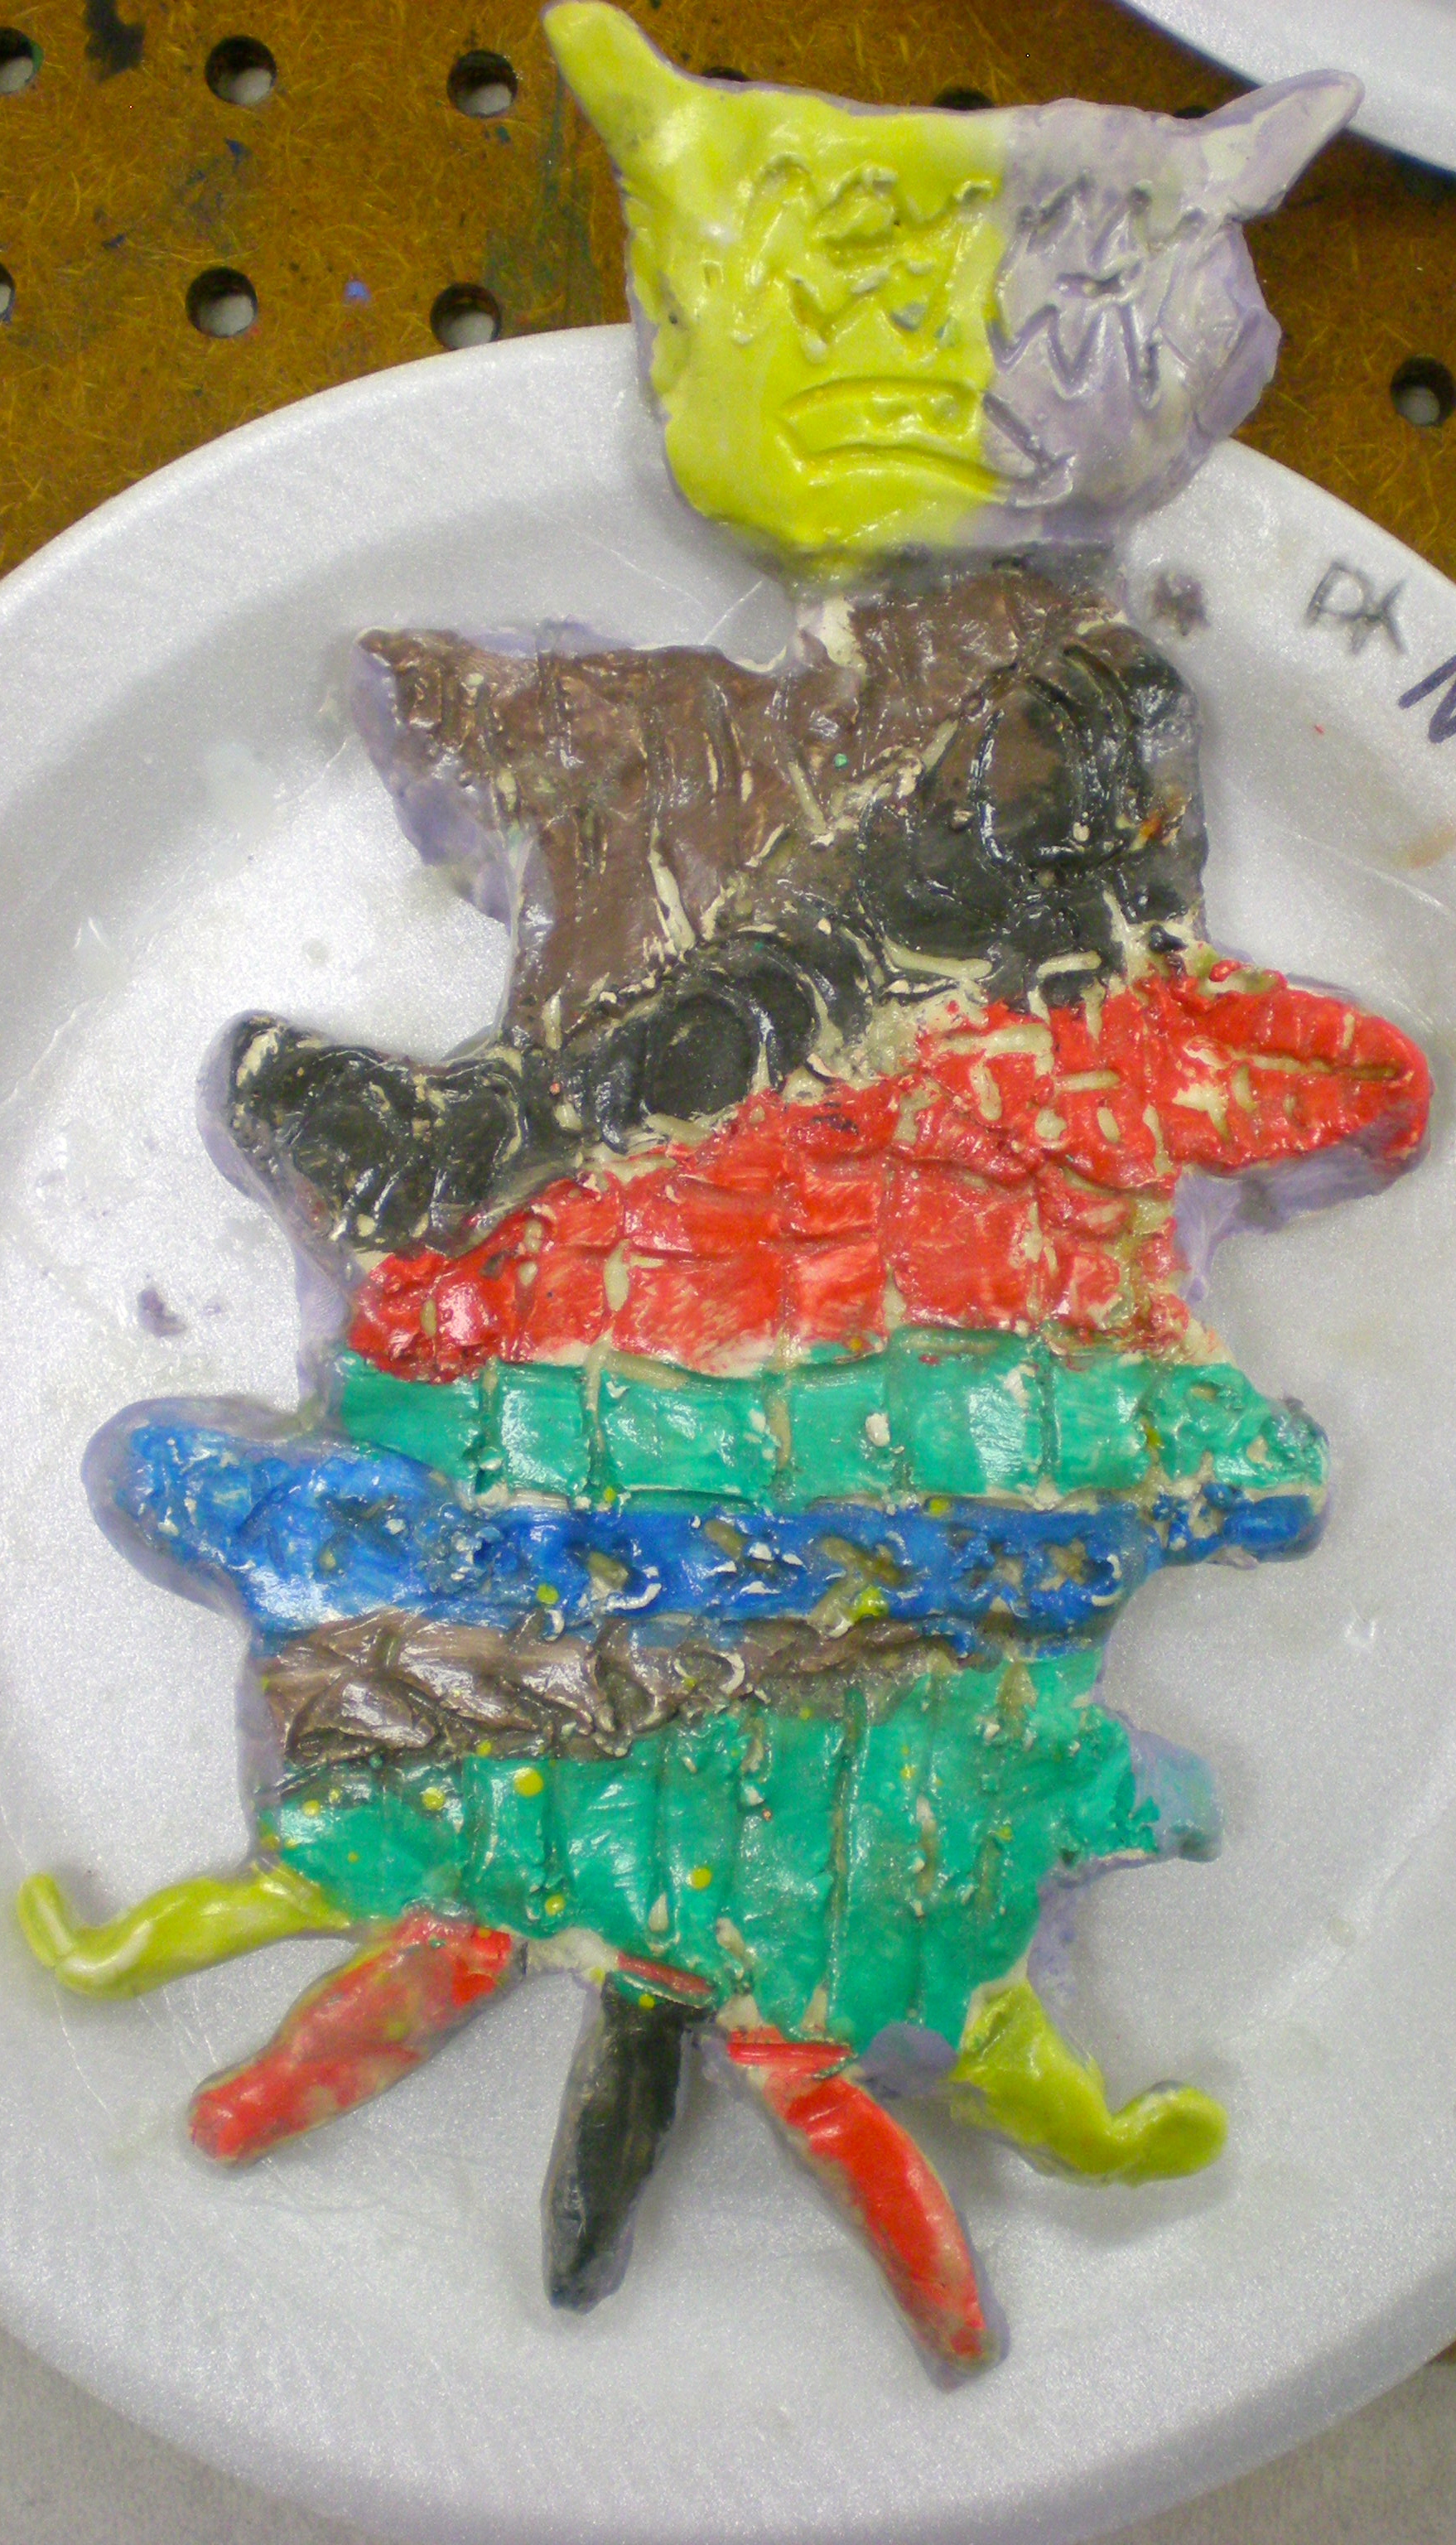
Joint Project: Flat Pack Toys and Cubed Self-Portraits
For our next artistic adventure we took a closer look at the human in three-dimensional form. Our inspiration for this lesson was the artist, Marisol Escobar, whose wooden, geometrically formed human sculptures, were a unique invention to the art world – something that hadn’t really been seen before. It was said that she could capture the essence of the person’s personality in the construction and creation of these three-dimensional portraits. Emphasis throughout the project was comparing 2-D to 3-D, and how to problem solve to achieve a proportional cubed-self when working from the organic human form.
To prepare us for own construction of 3-D self-portraits we went through the process of creating a Flat Pack Toy. The flat blueprint was filled in with colored pencil to resemble each 6th grade artist – a self-portrait – then cut, folded, and glued together to create this mini 3-D self-portrait. Students then used these folded forms of themselves to assist them in the construction of their cubed selves. We used model magic to create each cube. I liked using the model magic, because once dry it can easily be decorated with regular or permanent markers and it’s light-weight – the only downfall is that it is more expensive than clay. Each student used three cubes: one for the head, one for the torso, and one for the legs. And as a special note, tacky glue works best for all aspects of assembling these cubed-selves!
This project used more days than initially planned, but the results are spectacular! Some of the resemblances are truly uncanny! I think having time-sensitive goals in the future for this project (and others) will help to keep our artistic and creative pursuits on schedule. 🙂
Our Learning Targets:
I can explain the difference between 2-D shapes and 3-D forms.
I can transform a 2-D drawing into a 3-D form using paper and Model Magic.
I understand that a self-portrait (2-D or 3-D) is a picture or sculpture of me.


Face Jugs (Preview!)
We are beginning our clay project for 6th grade – African American Face Vessels!! These face jugs have been traced back to a specific county in South Carolina in the mid-1800’s. Their purpose is explored in this video, but it is believed that slaves made these to continue and remember their African heritage, as they resemble African masks and statues. They may have served as grave markers, or good luck totems to keep bad luck away.
As in every clay lesson, we review the life of clay and its journey from the ground, to the kiln, to its function (as art, dishware, or otherwise). This project really emphasizes attaching clay correctly using the score and slip method, scratching the surfaces to be attached (like Velcro) and then adding water (to serve as a glue).
To begin the base of the cup, each student created a pinch pot and flattened it out so it could begin to support the coils as they were attached, built-up, and smoothed. Once the cup was tall enough, the facial features could be added – of course, using the score and slip method. I always remind my students when using clay to never have a project or piece be thinner than your pinky or thicker than your thumb – this prevents break and cracking, as well as trapping air and causing kiln accidents.
I’m excited to see how the rest of these turn out!! 🙂
Our Learning Targets:
I can use my time wisely to complete my face jug.
I can make a pinch pot and use coils to construct the cup.
I can use the score and slip method to attach clay pieces.
I understand the process of creating ceramics.
I understand these face vessels originated in the 1800’s and were made by African American slaves.